Advertisement
Available languages
Available languages
Advertisement
Table of Contents

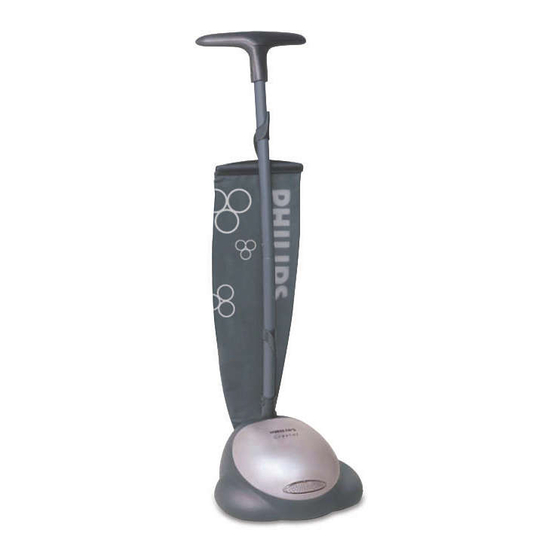
Summary of Contents for Philips FC6687/01
- Page 3 ENGLISH 4 ESPAÑOL 10...
-
Page 4: Preparing The Appliance For Use
If the mains cord of this appliance is damaged, it must always be replaced by Philips or a service centre authorised by Philips, as special tools and/or parts are required. - Page 5 Slide the top of the dustbag in the upper dustbag holder. Connect the bottom of the dustbag to the appliance. Remove the two metal clamps by turning one of the rubber wheels with your hand. Do not put the clamps back between the wheels.
- Page 6 ENGLISH Polishing Unwind the mains cord and put the mains plug in the wall socket. For extra safety: wind the cord around the handle once and put it in the cord holder. To switch the appliance on, push the handstick down and pull it towards you.
-
Page 7: Storing The Appliance
To give wooden floors (e.g. parquet) a deep shine, use the felt polishing discs. Type FC 6688 only: select 'shining/***' for extra and long-lasting shine. To wheel the appliance across the floor without polishing, put the handstick in vertical position and tilt the appliance backwards. Storing the appliance Wind the mains cord around the storage hooks. -
Page 8: Emptying The Dustbag
ENGLISH Emptying the dustbag Empty the dustbag from time to time. First detach the lower part of the dustbag. Pull the upper part of the dustbag out of the holder. Turn the dustbag upside down over a dustbin and carefully shake the dust out of it. -
Page 9: Information & Service
ENGLISH Information & service If you need information or if you have a problem, please visit the Philips Web site at www.philips.com or contact the Philips Customer Care Centre in your country (you will find its phone number in the worldwide guarantee leaflet). -
Page 10: Armando La Lustradora
Si el cable está dañado, debe recurrir a un taller de servicio autorizado Philips para su reparación, (se requieren herramientas/ partes especiales para su reparación). ARMANDO LA LUSTRADORA... - Page 11 Coloque la bolsa recolectora Conecte la bolsa recolectora al la base de la lustradora. Saque los dos protectores metálicos de los rodillos, girando con la mano los cepillos (fig. 6). No vuelva a colocar los protectores. Fije los cepillos o los fieltros en la parte inferior.Asegúrese de presionar hasta escuchar el "click", para verificar que estén correctamente colocados.
- Page 12 ESPAÑOL Asegúrese de eliminar todo tipo de manchas, residuos, etc LUSTRADO Desenrolle el cable y enchufe la clavija a un tomacorriente. Para su seguridad: enrolle el cable sobrante en los ganchos de almacenamiento ubicado en los tubos. Para prender el aparato, presione el mango hacia abajo e inclínelo hacia abajo.
- Page 13 Utilizando los discos pulidores de fieltro , se puede dar un brillo más intenso a los pisos de madera (parquet). Solamente para modelo FC 6688: seleccione 'brillar/***' para obtener un "extra brillo" de mayor duración Para transportar la lustradora apagada, vuelva el mango a la posición vertical original e incline el aparato hacia atrás.
- Page 14 ESPAÑOL PARA VACIAR LA BOLSA RECOLECTORA Vacíe la bolsa recolectora, con relativa frecuencia. Saquen la parte superior de la bolsa de polvo fuera del soporte. Den la vuelta a la bolsa para el polvo sobre un cubo para basura y, sacudiendola con cuidado, quítenle el polvo. No se olvide de colocar la bolsa recolectora antes de volver a utilizar la lustradora.
- Page 15 ESPAÑOL GARANTÍA & SERVÍCIO No deje de visitar nuestra página web www.philips.com, para obtener mayor información de nuestros productos, o contacte directamente nuestro Centro de Información al Consumidor, correspondiente al país en que se encuentra (ver Certificado de Garantía).En caso de no existir un CIC en su país, diríjase as Service local o al representante de...
- Page 16 4222 000 48261...


