Advertisement
Quick Links
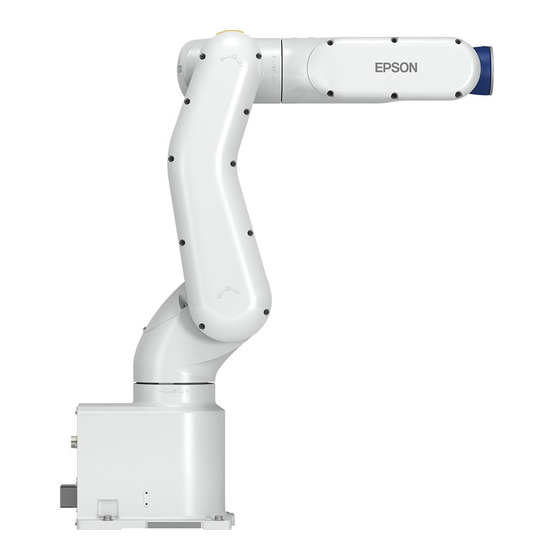
VT6L
All-in-One 6-Axis Robot
Setup Guide
IMPORTANT: Before using this product, make sure you read these
instructions, and the safety instructions and guidelines in the online Epson
Safety and Installation Manual.
1
Unpacking the Robot
1
Remove the robot and optional equipment from the
packing container.
2
Set aside these parts for use later:
Optional emergency
Emergency stop
3
Remove all the packaging materials from the robot.
Caution:
Do not remove the TP Bypass Plug from the interface
panel or the robot cannot operate.
stop connector
Epson
RC+ 7.0 DVD
®
USB cable
E M E
R G E
N C Y
P O W
E R
R E S
E T
M E M
O R Y
T P
B y p a
s s
P lu g
I/ O - O
U T
P C
L A N
I/ O - IN
O P T
A C 1
IO N
1 0 V -
2 4 0 V
2
Installing the Software
(Windows
®
1
Insert the Epson RC+ 7.0 DVD into a DVD drive on the
computer you will use to program the robot.
Note:
You can download manuals for your product from the
Epson website. Visit www.epsonrobots.com/product-manuals
and search for your product. If you need to download the Epson
RC+ 7.0 software, send an email request to applications@
robots.epson.com to receive a download link.
2
Follow the on-screen instructions to install the software.
3
Double-click the EPSON RC+ 7.0 icon on your desktop to
start the Epson RC+ 7.0 software.
See the online Epson Safety and Installation Manual for details
on installing and using the Epson RC+ 7.0 software.
3
Mounting the Robot to Your
Work Surface
Before you begin, make sure your work area and the surface on
which you will install the robot meet the requirements listed in
the Epson Robot Manual.
You need the following hardware (not included) to mount the
robot to your work surface:
• 4 M8×35 bolts
• 4 spring washers
• 4 flat washers
X4
Note:
The bolts must conform to ISO898-1 Property Class 10.9 or
12.9.
1
Place the robot on your work surface.
Caution:
The robot cannot stand on its own. Be sure to properly
hold and support the robot during the mounting process.
2
Trace the location of the mounting holes onto your work
surface so you can tap M8 holes, if you have not already.
For details on work surface and hole requirements, see
the online Epson Robot Manual.
Only)
X4
X4
Advertisement

Related Manuals for Epson VT6L


Summary of Contents for Epson VT6L
- Page 1 (Windows Only) ® Insert the Epson RC+ 7.0 DVD into a DVD drive on the computer you will use to program the robot. IMPORTANT: Before using this product, make sure you read these instructions, and the safety instructions and guidelines in the online Epson...
- Page 2 See the example power adapter plugs or install your own emergency stop that meets the safety below: requirements listed in the online Epson Robot Manual. To connect an emergency stop, first do one of the following: •...
- Page 3 MOTOR ON and select Yes to continue. Epson RC+ 7.0 software. Note: See the online Epson Safety and Installation Manual for details on using the Epson RC+ 7.0 software. On your computer, double-click the EPSON RC+ 7.0 icon on your Windows desktop to start the Epson RC+ 7.0 software.
- Page 4 Visit www.epsonrobots.com/training for more information. EPSON is a registered trademark and EPSON Exceed Your Vision is a registered logomark of Seiko Epson Corporation. Windows is a registered trademark of Microsoft Corporation in the United States and/or other countries.