Table of Contents
Advertisement
Quick Links
Advertisement
Table of Contents

Related Manuals for Zanussi 944064892


Summary of Contents for Zanussi 944064892
- Page 1 User Manual GETTING STARTED? EASY. ZZB30401XK EN User Manual Oven...
-
Page 2: Safety Information
VISIT OUR WEBSITE TO: Get usage advice, brochures, trouble shooter, service and repair information: www.zanussi.com/support SAFETY INFORMATION Before the installation and use of the appliance, carefully read the supplied instructions. The manufacturer is not responsible for any injuries or damage that are the result of incorrect installation or usage. -
Page 3: Safety Instructions
Disconnect the appliance from the power supply before • carrying out any maintenance. If the mains power supply cable is damaged, it must be • replaced by the manufacturer, its Authorised Service Centre or similarly qualified persons to avoid an electrical hazard. The means for disconnection must be incorporated in the fixed •... -
Page 4: Electrical Connection
ELECTRICAL CONNECTION Section of the cable WARNING! Risk of fire and electric Total power (W) (mm²) shock. • All electrical connections should be made by a maximum 1380 3 x 0.75 qualified electrician. • The appliance must be earthed. maximum 2300 3 x 1 •... -
Page 5: Care And Cleaning
– do not put aluminium foil directly on the products, abrasive cleaning pads, solvents or bottom of cavity of the appliance. metal objects. – do not put water directly into the hot • If you use an oven spray, follow the safety appliance. -
Page 6: Installation
INSTALLATION BUILDING IN WARNING! Refer to Safety chapters. (*mm) min. 550 min. 560 (*mm) min. 550 min. 560 SECURING THE OVEN TO THE CABINET... -
Page 7: Product Description
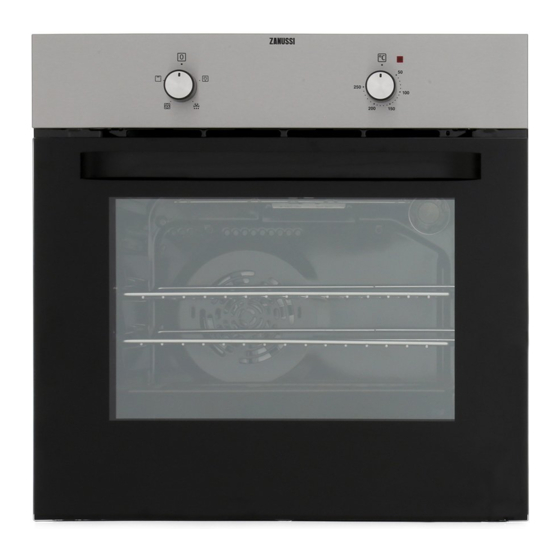
PRODUCT DESCRIPTION GENERAL OVERVIEW Control panel Knob for the heating functions Control knob (for the temperature) Temperature indicator / symbol Air vents for the cooling fan Heating element Lamp Shelf positions ACCESSORIES To bake and roast or as pan to collect fat. •... -
Page 8: Daily Use
DAILY USE WARNING! Refer to Safety chapters. Heating function Application HOW TO SET: HEATING FUNCTION To defrost food (vegetables and fruit). The defrosting Step 1 Turn the knob for the heating func- time depends on the tions to select a heating function. Defrost amount and size of the fro- zen food. -
Page 9: Using The Accessories
USING THE ACCESSORIES INSERTING ACCESSORIES WARNING! Refer to Safety chapters. Wire shelf: Push the shelf between the guide bars of the shelf support and make sure that the feet point down. Deep pan: Push the tray between the guide bars of the shelf support. -
Page 10: Moist Fan Baking - Recommended Accessories
Cooking meat and fish Cooking times Use a deep pan for very fatty food to prevent the Cooking times depend on the type of food, its oven from stains that can be permanent. consistency, and volume. Leave the meat for approximately 15 minutes before Initially, monitor the performance when you cook. -
Page 11: Information For Test Institutes
(°C) (min) Poached fish, 0.3 baking tray or dripping 35 - 45 Whole fish, 0.2 kg baking tray or dripping 35 - 45 Fish fillet, 0.3 kg pizza pan on wire shelf 35 - 45 Poached meat, baking tray or dripping 40 - 50 0.25 kg Shashlik, 0.5 kg... -
Page 12: Notes On Cleaning
(°C) (min) Toast, 4 - Grill Wire max. 2 - 4 minutes Preheat the oven 6 pieces shelf first side; 2 - 3 for 3 minutes. minutes sec- ond side Beef bur- Grill Wire max. 20 - 30 Put the wire shelf ger, 6 shelf and on the third level... - Page 13 HOW TO REMOVE AND INSTALL: DOOR The oven door has two glass panels. You can remove the oven door and the internal glass panel to clean it. Read the whole "Removing and installing door" instruction before you remove the glass panels. CAUTION! Do not use the oven without the glass panels.
-
Page 14: Troubleshooting
When installed correctly the door trim clicks. Make sure that you install the internal glass panel in the seats correctly. HOW TO REPLACE: LAMP WARNING! Risk of electric shock. The lamp can be hot. Before you replace the lamp: Step 1 Step 2 Step 3 Turn off the oven. -
Page 15: Energy Efficiency
ENERGY EFFICIENCY PRODUCT INFORMATION SHEET ACCORDING TO UK ECODESIGN AND ENERGY LABELLING REGULATIONS Supplier's name Zanussi Model identification ZZB30401XK 944064892 Energy Efficiency Index 94.8 Energy efficiency class Energy consumption with a standard load, fan-forced mode 0.73 kWh/cycle Number of cavities... -
Page 16: Environmental Concerns
ENVIRONMENTAL CONCERNS with the symbol with the household waste. Recycle materials with the symbol . Put the Return the product to your local recycling facility or packaging in relevant containers to recycle it. Help contact your municipal office. protect the environment and human health by recycling waste of electrical and electronic appliances. - Page 20 WWW.ZANUSSI.COM/SHOP...