Table of Contents
Advertisement
Quick Links
Advertisement
Table of Contents

Related Manuals for Philips WelcomeEye View


Summary of Contents for Philips WelcomeEye View
- Page 1 WelcomeEye View Home Security Camera Instructions for using the product...
-
Page 3: Table Of Contents
Contents 1. Safety instructions................. p.2 2. Contents of the kit................. p.2 3. General description................p.3 4. Detailed description................p.3 5. Installing the camera................p.4 5.1. Installing the base................p.4 5.2. Wiring....................p.5 6. Setting up....................p.6 6.1. Installation and linking..............p.6 6.2. Configuring the camera..............p.9 6.3. -
Page 4: Safety Instructions
4. Double-sided adhesive 5. Spanner for 6. 32 GB SD card to be inserted between unscrewing the camera (pre-inserted in the the base and the wall if from its base camera) the wall is uneven 3. Overview WelcomeEye View / V1... -
Page 5: Detailed Description
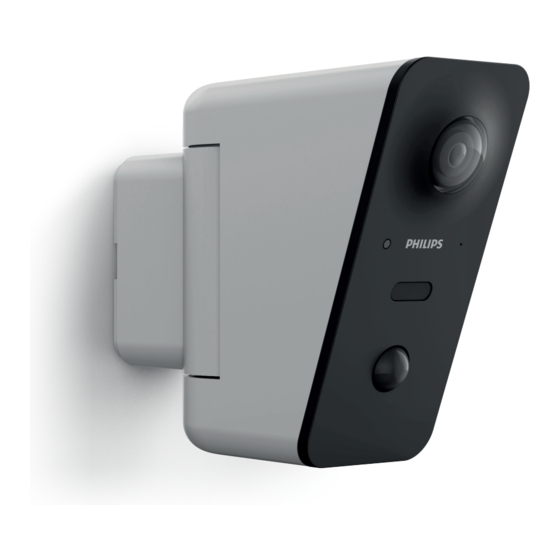
This camera is designed to provide security and an external monitoring point for users of the Philips WelcomeEye application and ecosystem. Whether you are absent or simply operating it remotely, it enables you to control, dissuade and reassure, whatever the circumstances, light or weather conditions. -
Page 6: Installing The Base
6. Screw the wall plate securely to the wall, passing the electrical cable through the centre. If the wall surface is uneven, insert the sheet of foam supplied between the base and the wall. WelcomeEye View / V1... -
Page 7: Wiring
= 230 V neutral) to your light in order to control it using your camera, its motion detection or the Philips WelcomeEye application. The lighting power should not exceed 1000 W. 9. Once wiring is complete, reclip the terminal block to your camera. -
Page 8: Setting Up
Then launch the application: An automatic email is sent to your email address for confirmation. If you do not already have a Philips WelcomeEye Enter the 6-digit code provided in the email to account, click on "Create an account". continue, tick the box and then click on "Create an account". - Page 9 Once account creation is complete, click on OK: Select the WelcomeEye View camera from the list of products compatible with the application: The list of products linked to an account appears. Click on the icon to continue. Your Bluetooth must be activated.
- Page 10 WiFi key for your internet box or router. Click “Next”. The camera has been detected by your smartphone on the Internet. Enter your name of choice for the camera and click “Save”. WelcomeEye View / V1...
-
Page 11: Configuring The Camera
Camera connection status : online : offline Internal battery charger Camera name If you have a Philips WelcomeEye video phone, it will also appear on this page List of related products in the app (current screen) Access to account and app options... - Page 12 Back to the live image Personalised name of the camera Device UID and version, battery charge Details and formatting of the memory card, reboot the camera Share the camera with other users Video quality Detection settings WelcomeEye View / V1...
-
Page 13: Detection Alert
(Alarm set) and then choose a day of the week: You can define up to 3 time slots with a start and end time for the day, during which the motion detection will be active. WelcomeEye View / V1... - Page 14 As with motion detection, you can activate human figure recognition manually or automatically by programming times. If you wish to activate automatically according to the time of day, click on (Alarm set) and then choose a day of the week: WelcomeEye View / V1...
-
Page 15: Configuration With Voice Assistants
Alexa: Go to the Alexa application and install the "Philips WelcomeEye" skill. Then enter the email address of your WelcomeEye account and its password. -
Page 16: Usage
Filters if you are looking for a specific video Recorded video: the symbol indicates that you have not yet viewed the video Name of the camera, date and time video was taken Type of detection that triggered the recording WelcomeEye View / V1... -
Page 17: Power Cut
Built-in alarm control: one click triggers the camera's alarm, a second click turns the alarm off. The icon shows you the current status These same controls are accessible if you switch WelcomeEye View / V1... -
Page 18: Technical Features
Compatible with 230 VAC lighting up to 5 A Infrared night vision 20 m range Operating temperature -20°C ~ 55°C Usage Outdoor (IP66) Dimensions: 135(h) x 60(l) x 160(d) mm Single product features Weight: 1 kg Standard and certification CE, RoHS WelcomeEye View / V1... -
Page 19: Faq - Common Problems And Solutions
Check the video settings and Poor quality or shaky image Incorrect video settings reduce the quality if necessary Reduce the sensitivity of detection. Movement detection is Unsuitable movement detection Position the camera. triggered unnecessarily settings Use figure detection rather than movement detection. WelcomeEye View / V1... -
Page 20: Technical Support - Warranty
• Ventilation should not be blocked by covering the ventilation opening with an object such as a newspaper, tablecloth or curtain, etc. • No open flame source such as a burning candle must be placed on the device. • Respect the product’s operating temperature. WelcomeEye View / V1... -
Page 21: Fcc/Ce Warning
• Redirect or move the receptor antenna • Increase the distance between the equipment and the receptor • Connect the equipment to a socket belonging to a different circuit from the one to which the receptor is connected WelcomeEye View / V1... -
Page 22: Declaration Of Conformity
13. Declaration of Conformity WITH the RED directive AVIDSEN hereby declares that the equipment designated below: WelcomeEye View Camera DES8500OSC 531050 Complies with the RED 2014/53/EU directive and that its conformity has been assessed pursuant to the applicable standards in force: •... - Page 23 NL - Gelijkstroom Philips N.V. Wechselstrom DE - PT. As marcas registadas da Philips são marcas registadas da Koninklijke ES - Corriente alterna Philips N.V. PT - Corrente alterna I marchi Philips sono marchi registrati di proprietà di Koninklijke Philips IT - Corrente alternata Prąd zmienny N.V. PL - PL. Znaki handlowe Philips są zarejestrowanymi znakami handlowymi Koninklijke Philips N.V. WelcomeEye View / V1...
- Page 24 Philips and the Philips shield emblem are registered trademarks of Koninklijke Philips N.V. and are used under license. This product is manufactured by and sold under the responsibility of AVIDSEN SAS, the sole guarantor of this product.