Advertisement
Quick Links
Operating Instructions
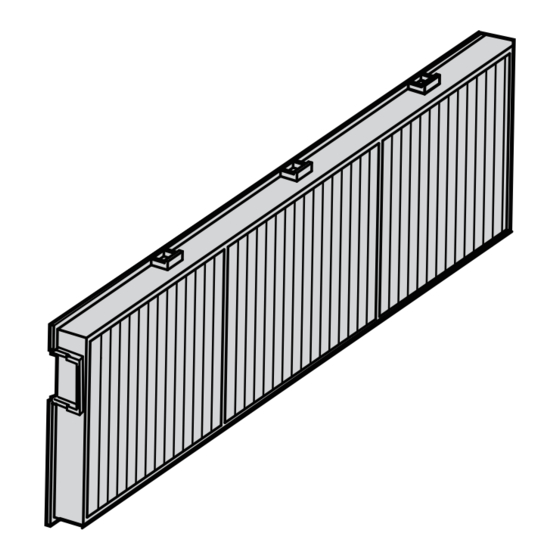
Replacement Filter Unit
Commercial Use
ET-RFV300
Model No.
Thank you for purchasing this Panasonic product.
■ Please read these operating instructions and the projector operating in-
structions carefully, and then use this product correctly.
■ Please save this Operating Instructions for future use.
TQZJ583-2
Advertisement

Related Manuals for Panasonic ET-RFV300


Summary of Contents for Panasonic ET-RFV300
- Page 1 Replacement Filter Unit Commercial Use ET-RFV300 Model No. Thank you for purchasing this Panasonic product. ■ Please read these operating instructions and the projector operating in- structions carefully, and then use this product correctly. ■ Please save this Operating Instructions for future use.
- Page 2 Attention Turn off the power and disconnect the power plug from the wall outlet before you replace the air filter unit. When attaching the air filter unit, make sure that the projector is stable, and work in an environment that is safe, even in the event of the air filter unit dropping. Do not put anything into the air vents. Doing so may result in malfunction of the projector. Illustrations in these operating instructions Illustrations contained in these operating instructions that show the projector may differ from the actual objects they depict. Replacing the air filter unit J Replacement procedure 1) Turn off the Power and then remove the AC power plug from the wall outlet. When the power is to be turned off, be absolutely sure to follow the procedure described in “Powering Off the Projector” in the operating instructions of the projector. 2) Remove the air filter cover. Open the air filter cover in the direction of the arrow as the figure shows and remove it.
- Page 3 Replacing the air filter unit (continued) 4) Attach the unused air filter unit (Replacement Filter Unit) to the projector. Hold the air filter unit that the tab is in left side in the figure, put the right side in the figure first, and press the tab side until make a click sound. Do not press any other part of the air filter unit except the frame during installation. 5) Attach the air filter cover. Perform Step 2) in the reverse order. Make sure that the air filter cover is closed tightly. Attention Make sure that the air filter unit is properly attached before using the projector. If it is not attached, the projector will suck in dirt and dust causing a malfunction. After replacing the air filter, reset the filter counter. Otherwise, “FILTER COUNTER has reached the set time.” will appear on screen. After unpacking the lamp unit, discard the packaging material properly. Do not disassemble the air filter unit. Resetting the Filter Counter Be sure to reset the Filter counter after replacing the air filter unit.
- Page 4 Disposal When discarding this product, please contact your local authorities or dealer and ask for the correct method of disposal. Panasonic Connect Co., Ltd. Web Site : https://panasonic.net/cns/projector/ TI1013JZ2062 -PT © Panasonic Connect Co., Ltd. 2022 Printed in China...