Huawei E5186 (Optus) Quick Start Guide
- Quick start manual (46 pages) ,
- Quick start manual (13 pages) ,
- Quick start manual (13 pages)
Advertisement
BEFORE YOU GET STARTED
Make sure you read through all the instructions to make sure you're up and running in no time.
WHERE TO PUT YOUR HOME WIRELESS BROADBAND
To get the best signal, the ideal place for your device will be near a window. Try a few different areas until you find one with the best signal strength.
THINGS THAT CAN AFFECT YOUR SIGNAL STRENGTH
Concrete or wooden walls can really weaken the transmission of wireless signals, as well as electrical appliances that project strong electric or magnetic fields such as microwave ovens, refrigerators and satellite antennas. Best keep away from them.
MAKE SURE YOU HAVE THESE BITS & BOBS HANDY

SIMPLE & EASY TO SET UP
INSERT THE SIM CARD
Follow the 3 steps in the illustration below.

CONNECT THE POWER ADAPTOR
- Follow the illustration to plug in the power adaptor.
- Turn the power switch on and the device will start registering to the Optus network.

- Solid blue light will appear once the service is registered (allow a few mins)

TWO WAYS TO CONNECT YOUR DEVICES TO THE NET
- Ethernet Cable

Connect one end of the Ethernet Cable into any of these 4 LAN ports. The other end simply plugs into your device (i.e. Laptop or PC)
Note: Up to 4 devices can be connected using the LAN ports (1-4).

- Wi-Fi
Here's how to enjoy a cable free connection to your Wi-Fi devices such as laptops, tablets and iPods.

- Check to make sure the Wi-Fi indicator light on your device is on. Press the button on the side of your device if you need to switch on Wi-Fi. (refer to the section: GET TO KNOW YOUR DEVICE)
- Switch on Wi-Fi on the device you wish to connect. For help on this check your laptop/ device manual or ask the techy person in your family.
- Search for the Huawei Wireless Network name on your laptop/device. The network name or SSID can be found on the label of the back of the device, along with your Security/Wi-Fi key (which you'll need too).
- Click connect, and enter the Security/Wi-Fi Key. You'll now be connected to the internet!

Note: Device supports 2.4 GHz and 5 GHz Wi-Fi networks.
Tip! Some laptops have a Wi-Fi switch that needs to be turned on before you can search for a wireless network (usually on the side or at the top of your key pad). If you need help with this refer to your user manual.
HOW TO CHANGE PASSWORDS AND DEVICE
SETTINGS If you want to change your password, check your speeds or find more info on your wireless network, just follow these simple steps:
- Set up the device and connect as outlined in this guide.
- Enter http://192.168.8.1 into your browser and press 'Enter' or 'Go'.
- Enter the username 'admin' and password 'admin' in the login window then log in.
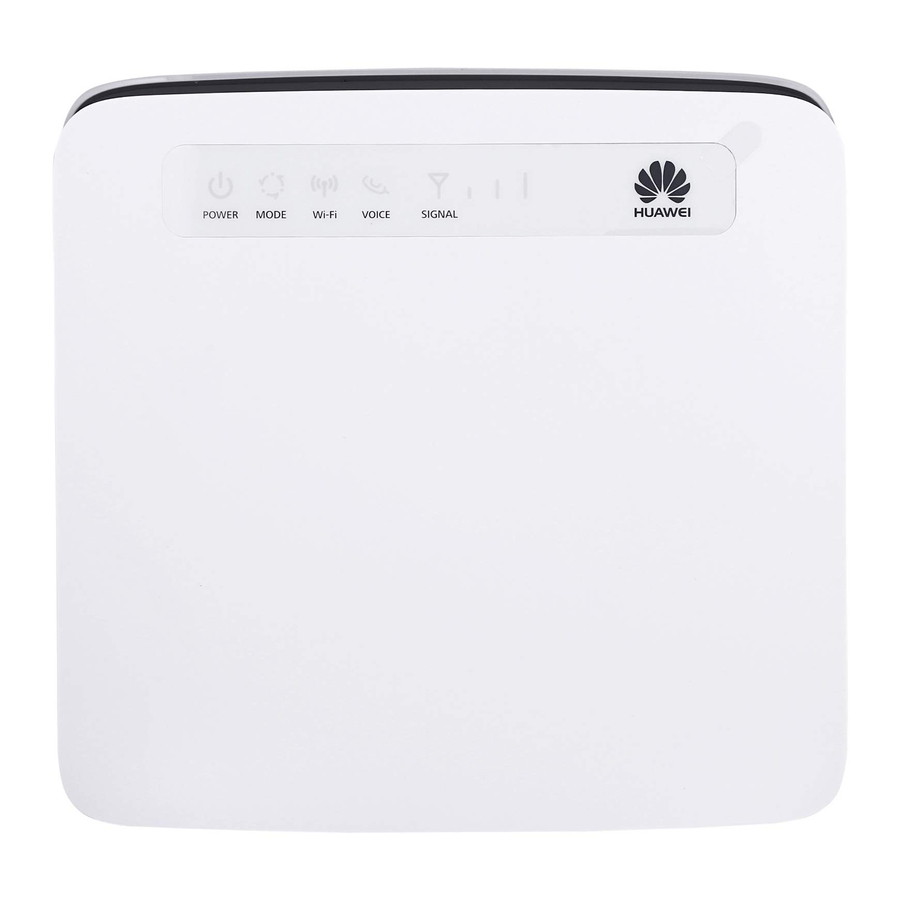
GET TO KNOW YOUR DEVICE

- POWER INDICATOR
- On: turned on
- Off: turned off
- MODE INDICATOR
- Steady cyan (blue): The DEVICE is connected to the Optus 4G Plus network.
- Steady red:
- The SIM card is not recognised or the PIN has not been entered correctly.
- The device failed to connect to a wireless network.
- WI-FI INDICATOR
- On: Wi-Fi is on
- Blinking: WPS interconnection verification is in progress. This process should not take longer than 2 minutes.
- Off: Wi-Fi is switched off
- VOICE INDICATOR
- For Voice Calls (not available at this time).
- SIGNAL INDICATOR
- On: Shows network signal strength. Full lights means a strong signal.
- Off: No network signal.
- MICRO SIM CARD SLOT
- WI-FI BUTTON
- Press and hold for 1 second to switch Wi-Fi on and off.
- RESET BUTTON
- Press and hold for 3 or more seconds to restore factory settings.
Note: Restoring to factory settings clears all changes to settings you might have made.
- WPS BUTTON
- Pressing this will let you choose between the two supported Wi-Fi Networks. Here's how:
- Press and hold the button for one to fiveseconds to set up a 2.4 GHz WPS connection or
- Press and hold the button for five seconds or more to set up a 5 GHz WPS connection.
- POWER BUTTON
Press this button to power the DEVICE on or off. - POWER PORT
Where you connect the device's power adapter. - USB PORT
Connect to a USB storage device or USB printer.
Note:
- The device supports USB 1.1 and 2.0 storage devices in FAT16, FAT32, ext2, and ext3 formats. Storage devices with power supply requirements exceeding USB standards may not work properly. It is recommended that you prepare an external power supply in these cases. The device is compatible with samba-supported USB printers.
- This port cannot be connected to USB host devices, such as computers.
- TELEPHONE PORTS (RJ11)
- This functionality is not currently available.
- LAN PORTS (RJ45)
- Lets you connect your modem to computers, switches, or other network devices.
- LAN4/WAN PORT (RJ45)
- Connect to computer, switch, or other network device. WAN functionality is not currently available.
- LAN4/WAN INDICATOR
- On: The port is connected to a device.
- Blinking: Data is being transmitted through the port.
- Off: No device is connected to the port.
- LAN INDICATORS
- On: The port is connected to a device.
- Blinking: Data is being transmitted through the port.
- Off: No device is connected to the port.
- EXTERNAL ANTENNA PORTS (SMA TYPE)
- Connect to external antennas (optional).
Note: Before you connect an external antenna to the device, remove the device's rear cover.
Documents / ResourcesDownload manual
Here you can download full pdf version of manual, it may contain additional safety instructions, warranty information, FCC rules, etc.
Advertisement
Thank you! Your question has been received!


Need Assistance?
Do you have a question about the E5186 that isn't answered in the manual? Leave your question here.