Table of Contents
Advertisement
Quick Links
IMPORTANT NOTICE
• Read and save these instructions for future reference.
• Installation and service must be performed by a qualified
installer.
• Save this installation manual for local electrical inspector's
use.
WARNING
• If the information in this manual is not followed exactly, a fire or
explosion may occur, causing property damage, personal injury
or death. In the event of a fire or explosion, more away from the
appliance immediately and call the local fire department.
• NEVER attempt to extinguish oil/grease fire with water.
• Do not store or use gasoline or other flammable vapors and liquids
in the vicinity of this or any other appliance.
• Installation and service must be performed by a qualified installer,
serviceperson.
SAFELY LIFT AND MOVE UNIT
• Two people are required to safely lift and move this unit.
• Do not move unit by pushing or pulling on the door or control
panel. Do not lift by the cooktop edges. Push, pull or lift only
on the body or structural areas, such as oven, oven face or back
corners of range.
• Move range by lifting, not sliding, to prevent damage to floors.
Use cardboard, plywood, or stiff plastic to protect floors if sliding
is necessary.
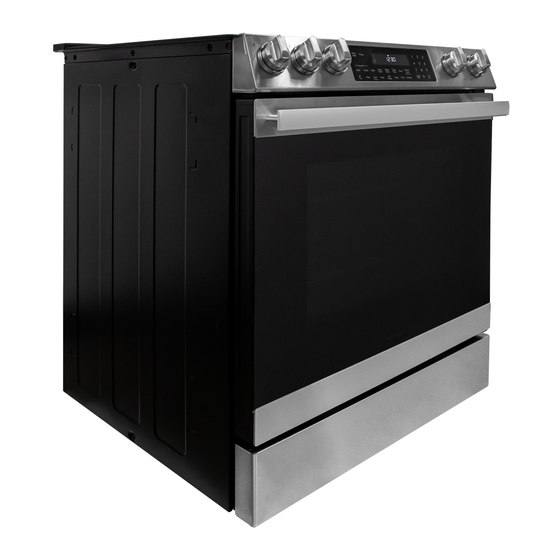
SSR3061JS, SSR3065JS, SSR3071JS
30" SLIDE-IN ELECTRIC RANGE
INSTALLATION MANUAL
UNPACKING APPLIANCE
• Remove all packing materials from inside the appliance. Remove
the feature sticker, if there is one, from the outside of the oven.
• Check the appliance for any damage. If there is any damage,
do not operate the appliance and contact your dealer or a Sharp
Authorized Servicer.
• Record the model and serial number.
IMPORTANT NOTES TO THE INSTALLER
• Leave these instructions with the consumer after installation.
• Read the entire Installation Manual before installing the appli-
ance.
• Remove all packing material before connecting the electrical
supply.
INSTALLATION LOCATION
• The dimensions and clearances in this manual indicate minimum
clearance required.
• Minimum distance between rangetop and overhead cabinetry
is 30".
• The contact surface and floor on which the appliance rests must
be solid and level.
• Ensure installation location has proper electrical supply.
• Any openings in the wall behind the appliance and in the floor
under the appliance must be sealed.
OBSERVE GOVERNING CODES
• Observe all governing codes and ordinances.
• This appliance requires connection to a 3-prong, 120VAC, 60Hz
grounded electrical source. When installed, appliance must
be electrically grounded in accordance with local codes or, in
the absence of local codes, with the National Electrical Code,
NFPA 70.
1
1
Advertisement
Table of Contents

Related Manuals for Sharp SSR3061JS


Summary of Contents for Sharp SSR3061JS
- Page 1 • Installation and service must be performed by a qualified • Check the appliance for any damage. If there is any damage, installer. do not operate the appliance and contact your dealer or a Sharp • Save this installation manual for local electrical inspector's Authorized Servicer.
-
Page 2: Tools Needed
TOOLS NEEDED PARTS Before installing, verify all parts are included. If any parts are damaged and/or missing, contact your dealer or a Sharp Authorized Servicer. PART INCLUDED CUT RESISTANT GLOVES, SAFETY GLASSES OR GOGGLES, STEEL-TOED SHOES PARTS QUANTITY (FOR YOUR SAFETY AND PROTECTION) -
Page 3: Important Notes To The Consumer
IMPORTANT NOTES TO THE CONSUMER ELECTRICAL SUPPLY REQUIREMENTS Keep this Installation Manual with your Operation Manual for This unit must be supplied with the proper voltage and frequency future reference. and connected to an individual, properly grounded branch circuit, protected by a circuit breaker or fuse having amperage as noted on •... -
Page 4: Installation Procedure
6" 30" Do not use sharp instruments, rubbing alcohol, flammable 30" 30" fluids, or abrasive cleaners to remove tape or glue. These 18" products can damage the surface of your range. -
Page 5: Electrical Supply Connection
TO INSTALL ANTI-TIP BRACKET TO INSTALL REAR TRIM Align filler trim to mounting holes. Attach with screws provided as shown in Figure 5. FIGURE 5 ELECTRICAL SUPPLY CONNECTION Using the template provided with the Anti-Tip Bracket, locate the installation area of the Anti-Tip Bracket. The Anti-Tip WARNING ELECTRICAL SHOCK HAZARD Bracket may be installed at either the back-left or back-right... - Page 6 A 3-wire or 4-wire, split-phase AC 208Y/120 Volt or 240/120 Volt, TO CONNECT WITH 3-PRONG POWER CORD 60 hertz electrical system must be used. If the electrical service provided does not meet the above specifications, have a licensed 3-PRONG POWER CONNECTION electrician install an approved outlet.
-
Page 7: Placing Unit
• The metal flange under each side of the cooktop MUST be PLACING UNIT placed over the cabinet countertop for proper unit support. The cooktop should NOT rest directly on the countertop or else it IMPORTANT could cause damage to the cooktop voiding the warranty. See •... -
Page 8: Confirm Operation
After several minutes, the broil element glows red. Touch CLEAR/OFF pad to stop Broil mode. If anything does not operate correctly, call for service. SHARP ELECTRONICS CORPORATION • 100 Paragon Drive • Montvale, New Jersey 07645 • USA 1-800-BE-SHARP (1-800-237-4277) TINSEB 6 0 9 MR R 0...